Step 2. Click on "Angels" in the top navigation and then click on Start New Angel on the left navigation.
1. You will see on the left side area a button that says "Start New Angel". Click on this to see the screen where you will see you can now begin choosing the Artificial Intelligence for your Automated Trading.
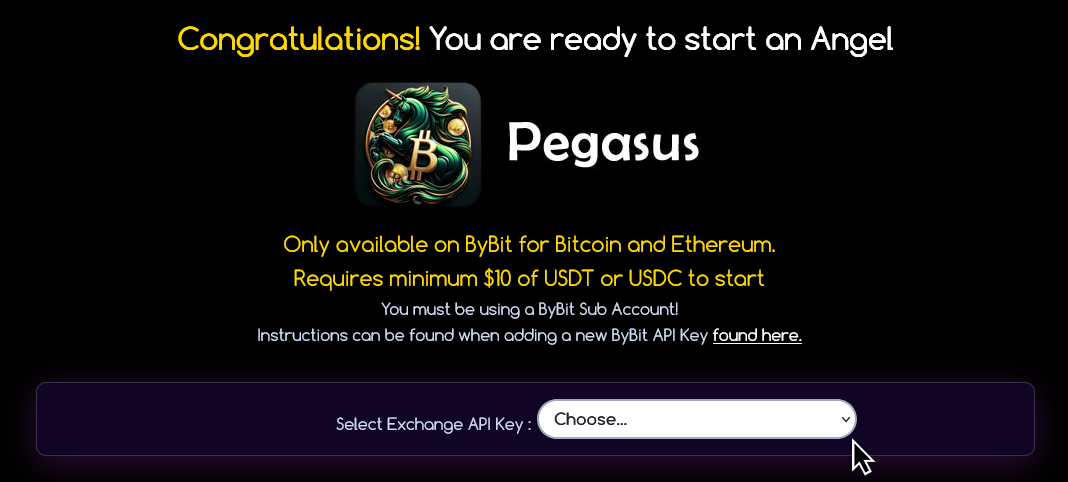
2. You will see the details about starting Pegasus such as the minimum, the markets you can start with a link in case you have not added your API key yet. Choose the API key you have added in the drop down and the screen will automatically adjust and start to check your Account is ready to start Pegasus.
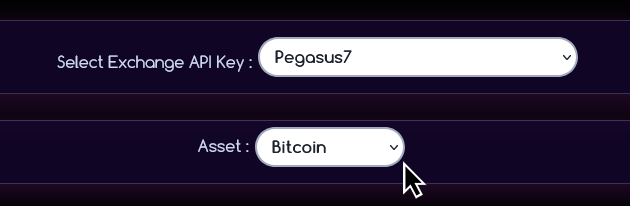
3. After selecting the API Key, You can choose what Coin you want to use. Currently we support Bitcoin and Ethereum.
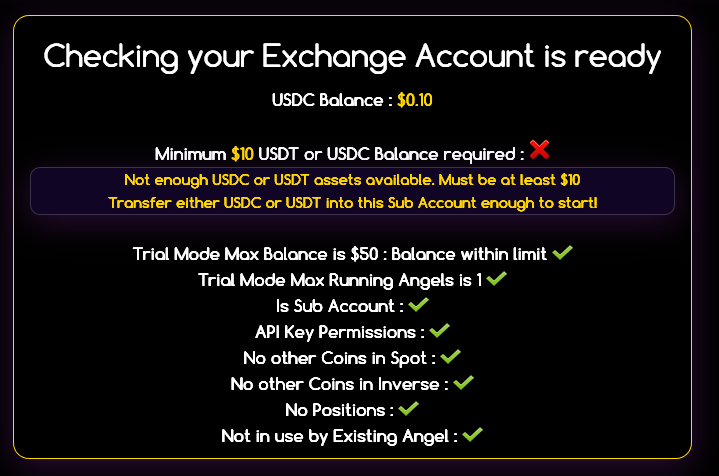
4. You will see now any details about making your Account ready for your Pegasus Angel. You will see the current Balance for the Sub Account the API Key you selected. Pegasus uses the entire balance of the Sub Account at all times.
 Ensure you only have the amount in the Sub Account you will be using for Pegasus.
 When using the Angel software,
 the Sub Account must not have any other Coins or be used for anything else.
When using the Angel software, if you need to increase or decrease the amount of Balance you want to use, you can read instructions on how to do this under the "Angel Settings". Do not transfer coins in and out of the Sub Account without first reading these instructions to avoid interrupting the operation of your Angel.
During our 30 Day Trial you are limited to a Maximum of US$50. To increase this and use the Angel software longer than 30 days, then read details about activating your account for US$99 on our
Fees page.
Step 3. Choose Settings for the Pegasus Strategy
Please note: Auto Prophets cannot provide advice on what settings to use.
You can view Working Angels and their settings and performance on the Hall of Angels to see what has worked for other people.
View Hall of Angels
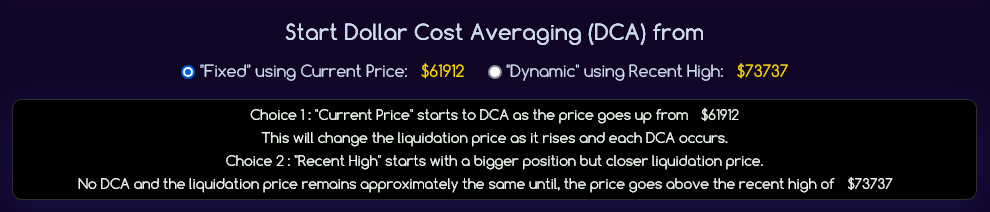
1. The first setting is called "DCA" (which stands for Dollar Cost Averaging). You can pick between "Fixed" or "Dynamic."
- "Fixed" is safer, with less risk.
- "Dynamic" has more risk but could give higher rewards.
2. Next, you can adjust the "Target Leverage." Leverage is like borrowing money to make bigger trades.
- You can use more or less than the default setting that was suggested by the AI.
- Choose the amount that fits your risk level.
3. When you change either the DCA or Leverage, the Liquidation Price and Position size will update. The Liquidation Price is the point where you could lose your trade. Always use this to decide the safest settings for you.
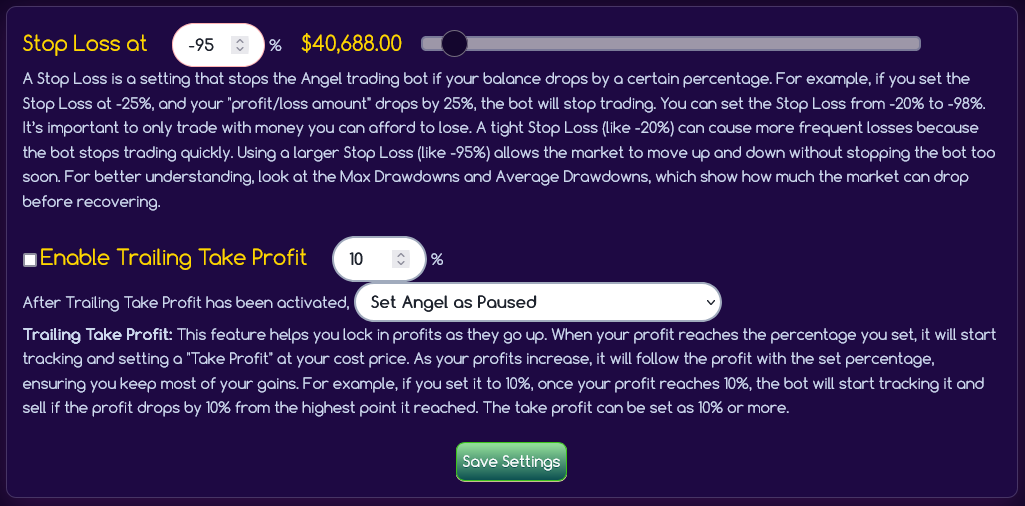
4. As you change the settings, the Liquidation Price will change. The Stop Loss Price (which stops you from losing too much) will also adjust.
- The default Stop Loss is set at -95%, which is right above the Liquidation Price.
- If you want to use a Stop Loss of 10%, you can reduce the amount of money you're risking to 10%, and still use the default -95% setting.
- Pegasus is a High Risk strategy, so it's always a good idea to use less money than you can afford to lose. We don't give advice on changing the default Stop Loss – it's up to you to choose the best option for your needs.
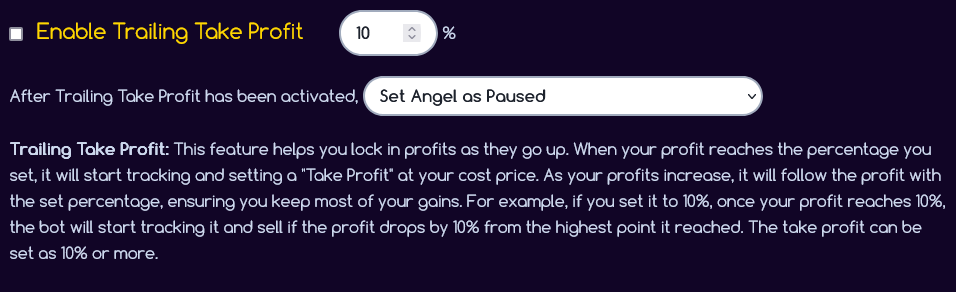
5. You can also use the "Trailing Take Profit" setting. This helps you automatically lock in profits when the trade is going well.
- There's more info on the page. Read it carefully to decide if you want to use it.
- You can turn it on or adjust it if it fits your plan.
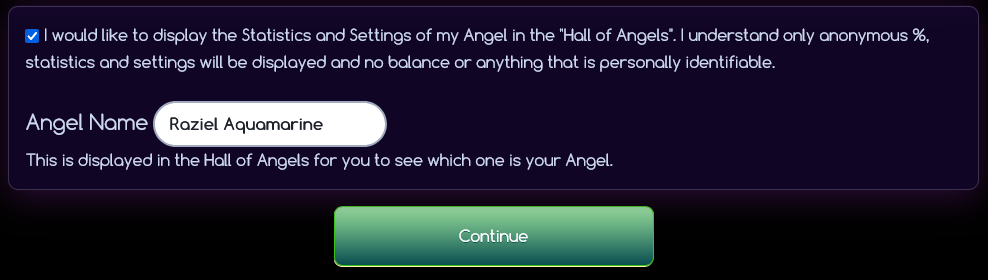
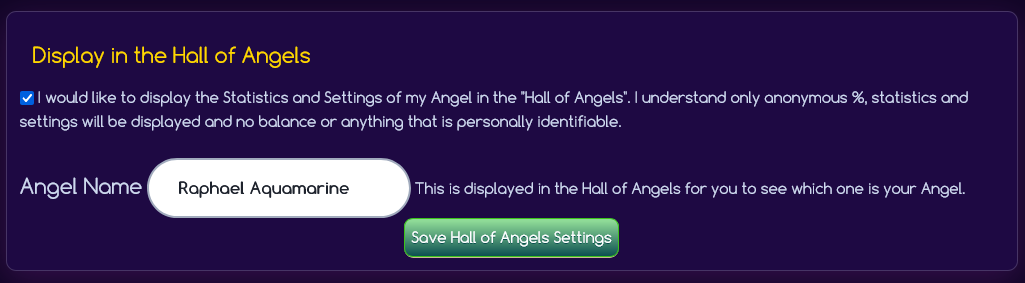
6. The last setting lets you decide if you want your Angel to appear in the anonymous Hall of Angels.
- Only your performance (the %) and settings will be shown, but none of your personal information or account balance will be shared.
- You can choose to turn this off if you don’t want to be shown.
- You can also change the name of your Angel to something you like before clicking on "Continue."
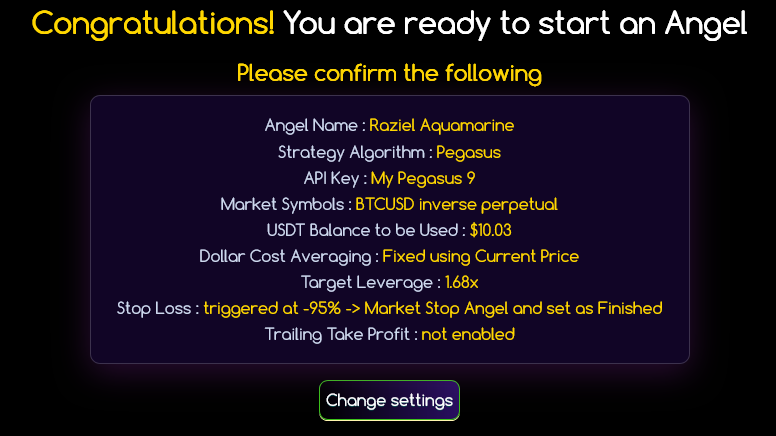
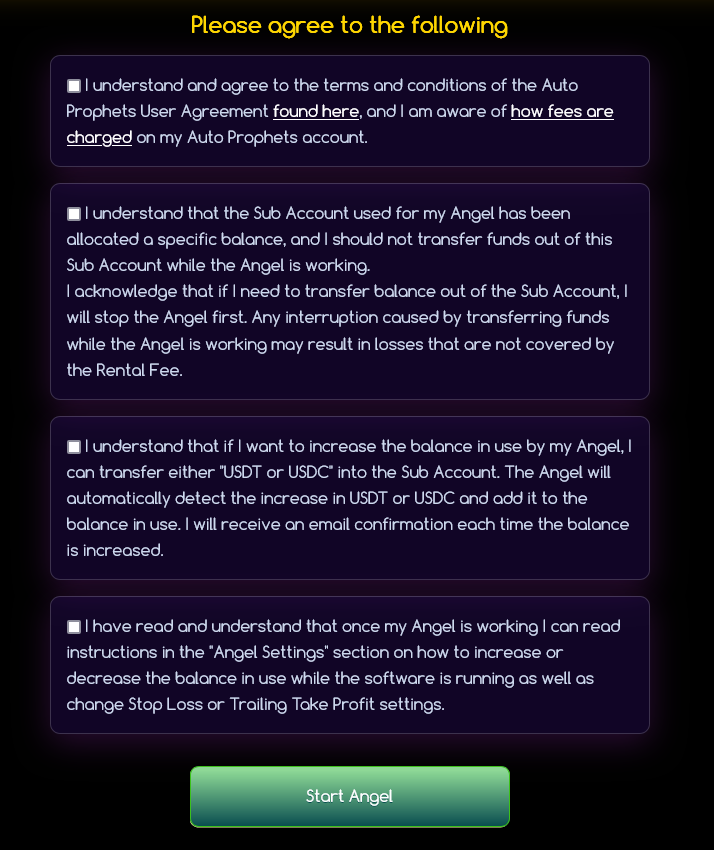
Step 4. Confirm Settings and Agree
1. You will now see a summary of the settings and options you chose. Review these settings, and if you are satisfied, continue down the page. If you need to make changes, click on "Change Settings" to edit your preferences. After making the changes, click "Continue" to return to this page and proceed.
2. Below the settings summary, you'll find details regarding the Angel software fees and important instructions. Make sure you understand that you should not remove the balance from the Sub Account while the Angel is working. The Angel must be stopped using your Dashboard. You can also increase the balance at any time through the settings in the "Angel Settings" section of your Dashboard.
Once you have read and agreed to these terms, click on "Start Angel".
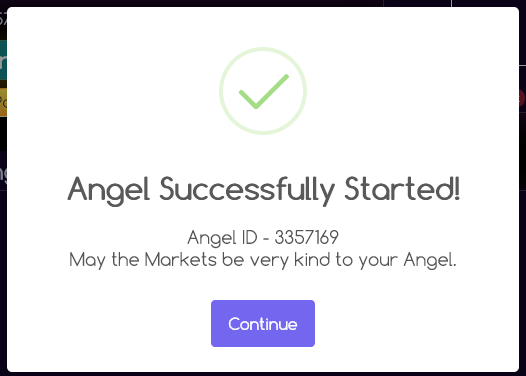
3. You will now see a notification confirming that your Angel has started successfully. Click "Continue" to go to your Dashboard.
4. Congratulations! You have started your Angel! You will now see your Angel Dashboard and can view and manage the Angel.
Step 5. Using your Angel Dashboard
1. The Angel Dashboard provides a clear and organized display of important metrics related to your Pegasus Strategy. Here's how to understand each section:
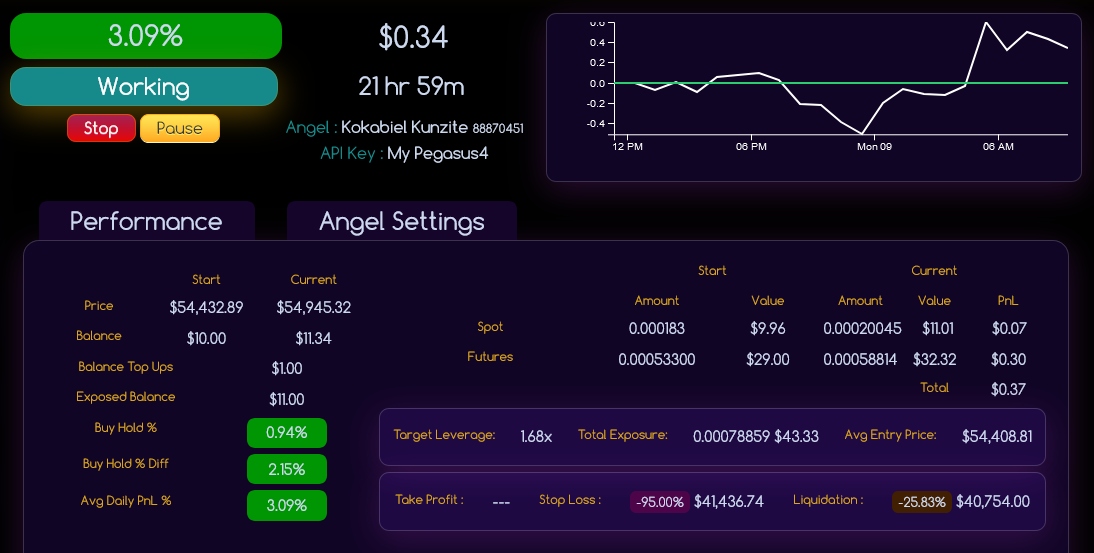
- Overall Profit (%):
This number shows the percentage profit or loss your Angel strategy has achieved so far. In this case, it is showing 3.09%.
- Current PnL ($):
This displays your profit or loss in USD. In the image, the PnL is $0.34.
- Status:
This shows the current state of the bot, whether it is working, paused, or stopped. Here, the bot is Working.
- Run Time:
This is how long the bot has been actively running. It shows 21 hr 59m.
- Angel and API Key:
This shows the Angel name ('Kokabiel Kunzite') and the assigned API key ('My Pegasus4') for managing the bot on this strategy.
- Performance Graph:
This graph visually represents your PnL over time. The x-axis shows time, and the y-axis shows $ changes. The green line represents your break-even point.
- Performance Table:
This table breaks down your investment performance:
- Price: The starting price vs. the current price of the asset.
- Balance: Your initial balance vs. your current balance in USD.
- Balance Top Ups: The total amount added to your Angel since starting.
- Exposed Balance: The total balance amount assigned to use (start balance plus top-ups).
- Buy Hold %: The gain/loss if you had only bought and held.
- Buy Hold % Diff: The percentage difference between your Angel and a buy-and-hold strategy (e.g., 2.15% extra profit).
- Avg Daily PnL %: The average daily percentage gain or loss (3.09% per day so far, though this may fluctuate as the market moves).
- Target Leverage: The leverage ratio being applied (e.g., 1.68x).
- Total Exposure: The total value exposed to the market, yielding profit or loss.
- Avg Entry Price: The average price of assets acquired by the Angel since starting.
- Take Profit: If enabled, this shows the percentage and trailing price that will trigger the take profit mechanism (here, trailing is not enabled).
- Stop Loss: The price levels at which the bot will close positions to secure profits or limit losses (set at 95% here).
- Liquidation: The price at which the position will be liquidated, resulting in a loss of balance. The stop loss is above this price. The % shown in the brown box indicates the percentage drop needed to trigger liquidation.
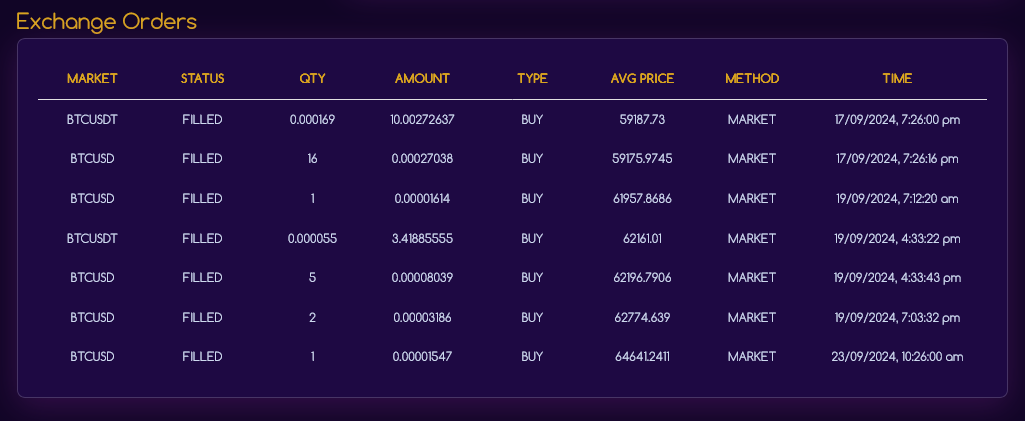
2. Below the Performance Area, you will see the Exchange Orders section. This displays the orders placed since the Angel started. You can view the spot and futures orders, including any additions to the position or dollar cost averaging. Note: In this example, there are only Buy orders since the Angel has been running without pausing. The Angel does not sell unless you pause or stop it.
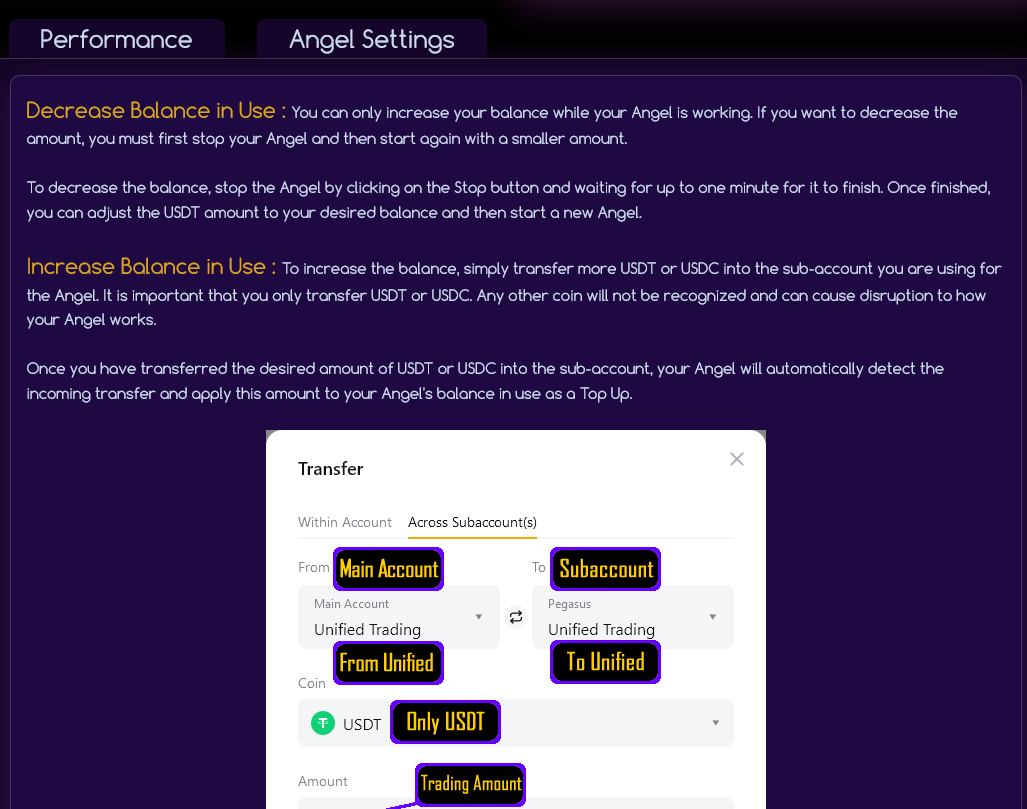
3. Below the Exchange Orders, you will find the Balance Top-Ups section. This shows when you have increased the balance by transferring USDT or USDC into the Sub Account --> 'Unified'. The Angel will automatically detect the increase and add it to the total balance for use.
4. Next to the "Performance" tab, you'll find "Angel Settings." Click here to see settings you can edit, including how to increase or decrease the balance, with instructions.
5. Scroll down to find settings for Trailing Take Profit and Stop Loss. You can adjust the trailing percentage and stop loss percentage, and then click "Save Settings" to apply the changes.
6. Below the Stop Loss area, you'll find the Display in Hall of Angels setting, where you can change the name if this setting is enabled. You can view the
Hall of Angels to see your Angel listed. The Hall of Angels is updated every 1 to 2 minutes.
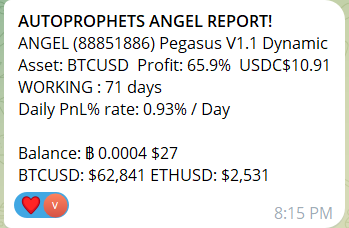
7. Scroll further to find the Telegram buttons. Use these to connect your Telegram app to the Angel and receive real-time Angel reports. You can choose to receive them every hour or day as preferred.
Example Telegram Report
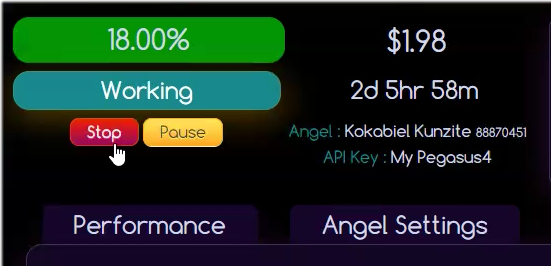
Step 6. Pause, Stop and Start a New Angel
1. The Angel Dashboard provides Pause and Stop options to give you complete control over how your Angel operates. At any time, you can use the Pause and Stop buttons, and they will perform the following actions.
Pause Angel - When you click on Pause, you will be asked to confirm if you'd like your Angel to sell the Coin (such as BTC or ETH) and convert it to USDT or USDC.
After you confirm this action, the Angel will take up to 2 minutes to perform the action and will send you a notification email once completed.
Once done, your account will hold only USDT or USDC, with a small amount of the coin left over as change. When you're ready for your Angel to buy again, click on "Start." Your Angel will take about 2 minutes to complete this action.
Stop Angel - When you click on Stop, you will be asked to confirm that you'd like your Angel to stop and notify you of the approximate Profit/Loss at the time of stopping. After you confirm this action, the Angel will take up to 2 minutes to perform the stop and will send you a notification email once it's done.
Once completed, your account will hold only USDT or USDC, with a small amount of the coin left over as change. You can now start a new Angel using this same Sub Account.
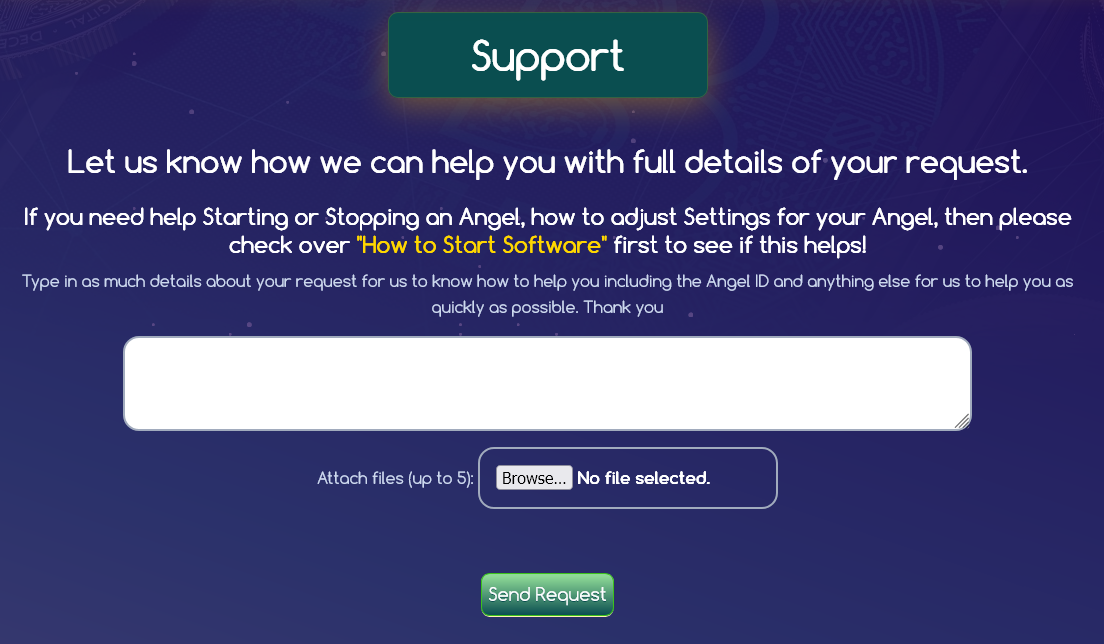
Step 7. How to Get Help and Support
1. At the top of your Dashboard navigation, you will find the link titled "Support". Click on this and you will be taken to a page where you can type a request for help and also supply screenshots or other images if needed. Please always mention the exact details of what you need help with, so we can get right to it for you as soon as possible.